Today starts day 1 of the tutorials for the play room!
If you missed the reveal click HERE.
Growing up I loved turning the floor of my closest into a reading nook.
The more blankets and pillows the better.
So I wanted Rhett and Rad to have something like that; a place where they could read, and play, and hide and build and have a space for their littleness to grow.
Which is where the idea for the floating fort/reading nook came from!
Before be get to the details, I want to make it perfectly clear that we are NOT contractors or professional builders. We used our self learned DIY skills, some advice from friends, and common sense to build this project; so if you chose to follow this tutorial you accept ALL responsibility for it's function and safety.
Now that we've got that taken care off, let's get to the tutorial. :)
I will be listing all materials used, but not the cuts and measurements since all closets are different sizes.
Materials:
2 X 4s
2 X 2s
sheet of 1in thick plywood
quarter round
3 1/2 in deck screws
miter saw
stud finder
level
A Kreg Jig is helpful, but not required
Step 1: Determine the height of your floating fort in the closet and mark it off.
Step 2: Locate the studs in the walls.
Our closet had 7 studs. I'm not sure if there is a science to how many studs it takes to build a closet (oh the jokes we could make about that sentence. :)) but the more you have the better. This is is my personal tip, but if your closet has less then 5 or 6 studs I would recommend not doing this tutorial.
PS I HIGHLY recommend using a stud finer. Makes it so much easier.
Step 3: Measure the walls and make the cuts.
You'll need 2 longer pieces and 2 shorter pieces.
Use the miter saw to make cuts on each end at 45 degrees.
Step 4: Secure your longest 2 X 4s to the back of the closet wall and use the level to make sure the board is well, level.
We used 2, 3 1/2in deck screws to secure the board to each stud.
Because when 1 screw is good, 2 is better.
Step 5: Secure the shorter boards to the side walls.
Again, use your level.
After we had secured the back board we secured the shorter side boards.
We had studs in the corners of our closet so we used our drill to drill the screws at an angle into the corner.
Step 6: Attach the final long 2 X 4 to the front.
(Say it with me...use your level!)
Look at the awesome rectangle you made!
Step 7: Measure and cut your 1in thick plywood to fit onto the top of the rectangle you just built.
We used a lot of scrap wood for this project, which is why we used 2 different sheets as seen below.
Step 8: Using your deck screws and drill, secure the plywood to the frame.
We didn't measure exactly between the screws but it came out to be about 5in between each one.
Step 9: Brace the frame and plywood with 2 X 4s.
Cut the 2 X 4s to fit flush with the frame and brace them against the plywood.
Screw the 2 X 4s to the frame.
Again we used 2 screws to brace the 2 X 4s to the frame.
Because when 1 screw is good...2 is better!
Right? :)
Total, we used 4 pieces of 2 X 4 to brace the frame and plywood.
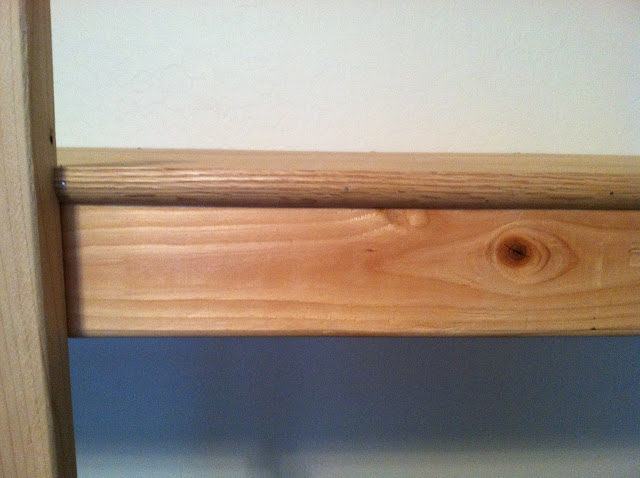
Step 10: Nail the quarter round to the raw edge of the plywood.

It will give the project a more finished look and help protect little fingers from splinters.
Step 11: Build the ladder.
We used the 2 X 2s for this.
Measure the height you want your ladder to be.
Cut 2 longer pieces and 4 shorter pieces (we found the best length to be 15in for the shorter pieces).
This is when the Kreg Jig would be helpful, but if you don't have one you can just screw/nail the steps to the ladder frame.
Step 12: Secure the frame to the fort base.
This is just a tip, but it is so much easier to paint/stain the ladder BEFORE you attach it to the fort frame.
And that's it!
Paint it, pillow-ize and decorate it and then snuggle up with a book or some cookies and make some memories.
Again, we are NOT contractors or professional builders. We used our self learned DIY skills, some advice from friends, and common sense to build this project; so if you chose to follow this tutorial you accept ALL responsibility for it's function and safety.
Feel free to leave a comment or email with any questions!
I'll do my best to help. :)
Come back tomorrow for the shim wall art tutorial!


.png)


.jpg)


